
My kids were literally hanging on the edge of their seats while we were doing this activity! Recycling your old crayons is such an easy project and cost under $2. It's definitely one of those crafts for kids that requires an adult, but, if you're looking for things to do with the kids that will entertain you as well, put this on the top of your list!
Here is an easy how-to-guide on melting your old crayons and turning them into new crayon ornaments for your kids:
1) You will need a candy mold. I bought a Wilton Candy Mold in the shape of Christmas tree ornaments, but you can use whatever kind you want. There are a ton of cute molds to pick from.
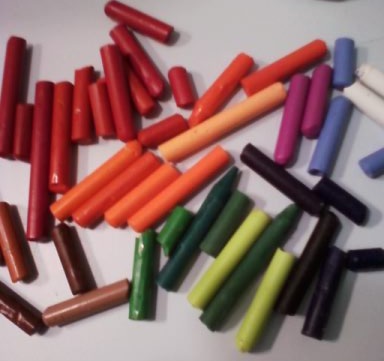
2) Take all of your old pieces of crayon and remove all of the wrappers from the crayons. This is something that the kids can help with. It's actually pretty tedious, so the more help the better! We mostly used Crayola, but, it you have a variety of brands, you can just mix them all together and sort them by color.

3) Find some cans in your recycle bin. Remove the labels from the cans. Clean the cans thoroughly with dish soap and water. Then, make sure you get them completely dry.
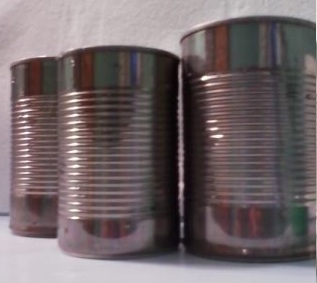
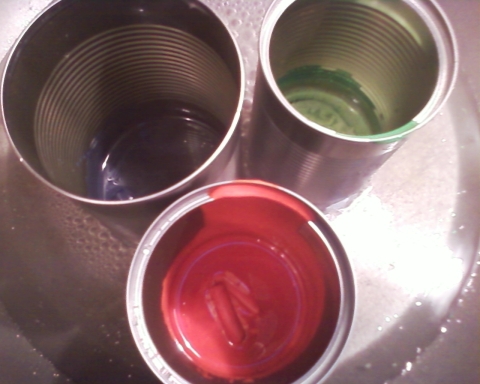
4) Fill a sauce pan with about 1.5 inches of water. It doesn't matter what size pan you use. But, make sure you pick a pan wide enough to hold your cans (standing upright). The water will need to be boiling. So, while you're waiting for the water to heat up, let the kids decide which color combinations they want. We used 4 cans - one for reds, one for orange, one for blue/purple and one for green. Maybe you want to keep similar colors together or get creative experimenting with mixing them up. There is no science to it, just have fun! Also, if you want to add glitter to the crayons, now is the time to do it.
While the crayons are melting, my kids were really curious about the process and wanted to see the melting crayons. I carefully lifted the tins out of the water, and showed the kids the crayons as they were melting. But, I also explained how it was very hot, and this was something that only Mommy could do.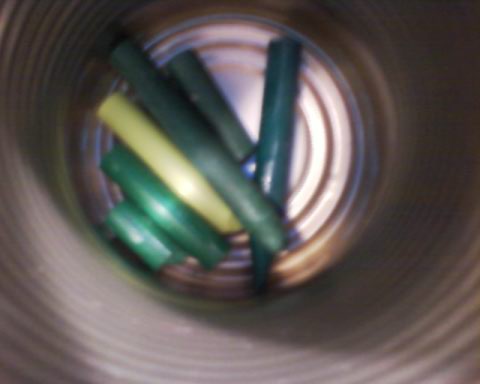
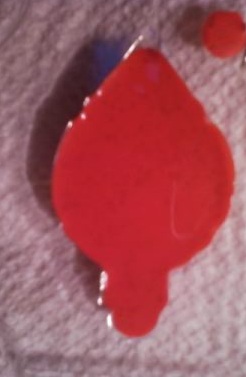
5) Once the crayons are completely melted, it's time for Mom to pour the melted wax into the candy mold. Wipe any water that may be dripping from the bottom of your can, because we don't want the wax to mix with any dripping water. Make sure you keep the mold away from the kids. Obviously, the wax is hot and we don't want anyone getting burned. Also, if a child bumps the mold while the wax is still melted, it will be very messy.
6) Once you have all of the melted wax in the molds, carefully stick the tray in the refrigerator until the wax is solid again. It doesn't take very long. Once the crayons are firm, just pop them out and let your kids check out their masterpieces!
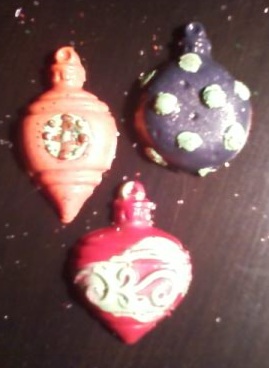


We also had fun painting on some details once they came out of the fridge. If you want to add any extra details - just take a small paintbrush, dip it in any extra hot wax that left in the bottom of the can and then, quickly paint it onto your cooled crayons. (Another option would be to paint the details in the mold before pouring the hot wax in. That's probably what we'll try the next time my kids and I do this easy craft)
The kids and I loved recycling their old crayons together!
It's easy, inexpensive, helps teach kids to recycle and doesn't make much mess either.