When it was back-to-school season, I bought a few bottles of white glue really cheap, and now I have the perfect reason to use them... Snowflake Clings!
I love crafts, but they have to be EASY. Here's a quick how-to-guide for making easy Snowflake Clings that stick to windows or mirrors. You might even already have the materials around your house like I did.
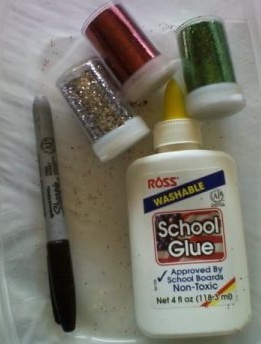
What you need:
1) A Gallon Size Ziploc Baggie
2) A Permanant Marker
3) White Glue
4) Glitter
Search online for "snowflakes printables". I found some good templates within seconds. The ones that were about 4" in diameter worked the best. You can do them up to about 6", but they are a little harder to work with.
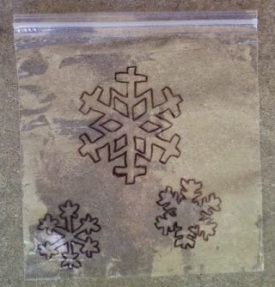
Print out your snowflake templates and then trace them on the ziploc baggie like this:
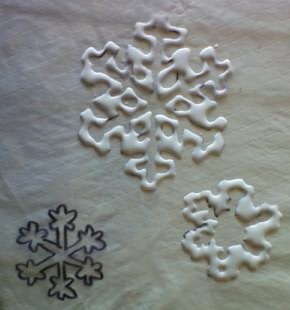
Then, trace them with thick lines of glue. Try to maintain the shape of the snowflake the best you can, but, don't skimp on the glue! Remember, the glue shrinks a little when it dries and you want nice sturdy clings.
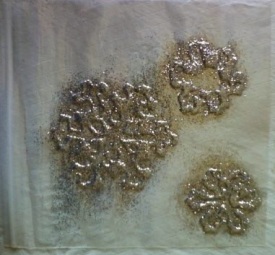
Once you have all of the glue on your template, you can start sprinkling with glitter. I used silver glitter, because that's what I had around the house. But, the lighter the glitter the better. I would probably use white iridescent in the future because I think they would look stunning!
Let them dry for 18-24 hours. If you're impatient and try to peel them off early, you might ruin them.
Once they are dry, you can shake off the excess glitter and hang put them up. I needed to wet my hands, and very lightly rub the back of the clings with water make them a little more clingy.
Here they are...
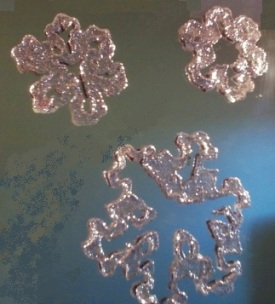
This was my first attempt at snowflake window clings. It's the type of thing that could be perfect with some practice. It's an inexpensive, easy craft that only takes minutes - and they are reusable. I think my whole house is going to be covered in these by the end of winter!